Guides, page 2
More guides from Curve File, newest first. Each one starts from a measurement, a fabric or a piece of construction rather than a brand.
- Curve File Editorial Team
- 20 Apr, 2026
Making Clothes Last: Washing, Drying and Storing Plus-Size Garments
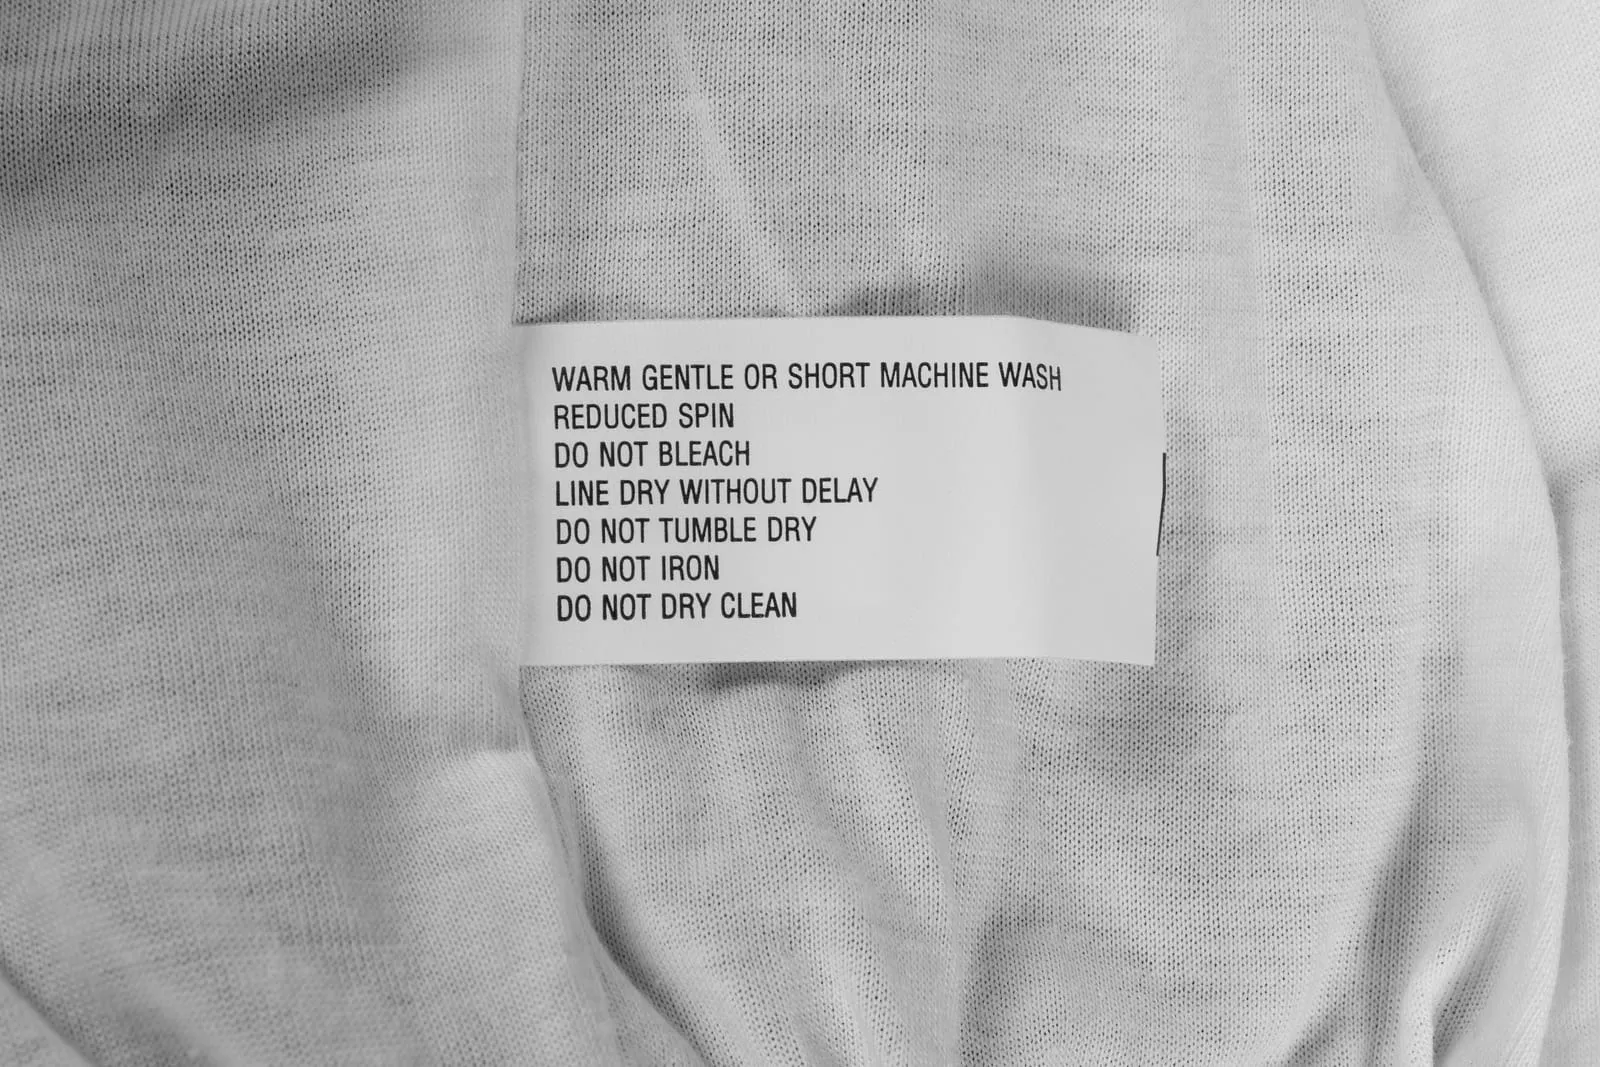
Fit is not fixed at the moment of purchase. A garment that fits well is relying on the fabric's structure, its stretch and its recovery, and all three are slowly dismantled by heat, weight and careless storage. On a larger garment there is more fabric under more tension at the seat, the elbow and the knee, so the same treatment costs more. Heat is the main enemy Most of what ruins clothes in a domestic laundry is temperature. Heat shrinks wool, degrades elastane, sets creases into synthetic knits, fades dye and dulls dark colours. Read the care label and treat its temperature as a ceiling rather than a target. A cooler wash with a slightly longer cycle cleans most everyday garments just as well, and it is much gentler on anything with stretch in it. Three habits follow from that:Turn garments inside out before washing. Most of the abrasion happens on the outside, where you sit and lean. Inside out protects the surface and lets the detergent reach the skin side. Wash similar weights together. A heavy pair of trousers tumbling against a thin knit abrades it. Sorting by fabric weight matters more than sorting by colour, though you should do both. Don't overload the drum. A crammed machine means less agitation, more creasing and more strain on seams when the load is spun.Skip fabric softener on anything with elastane or a technical finish. It leaves a film on the fibre, which is the opposite of what a knit that needs to recover its shape requires. A half-cup of white vinegar in the rinse does the softening job without the coating. Washing by fabric Knits and jersey. Cool wash, gentle cycle, mesh bag if the knit is fine or the garment is heavy. Skip the dryer entirely. Wool and tailoring. Cold or wool cycle with a detergent made for wool, minimal agitation, and no wringing. Wool felts when it is heated and agitated, and a jacket that goes through a normal cycle will not return to its shape. Denim. In cold water, inside out, and less often than you think. Denim loses indigo and shape with every wash. Spot-clean between washes and hang it to air. Viscose and rayon. These weaken when wet, so handle a soaked viscose garment gently and never hang it dripping. Lay it flat or dry it on a rack with support. Lined and structured garments. If there is interfacing or canvas inside, dry cleaning is usually the safer route, and the label will say so. Home washing a structured jacket can delaminate the interfacing, which is what gives the shoulder its line. Drying without stretching it out Weight is the second enemy, and it acts through water. A wet knit dress is heavy enough to pull its own shoulders out of shape.Dry knitwear flat, reshaped to its original dimensions, on a towel or a mesh rack. Never on a hanger. Dry heavy garments flat or over a rack, not hanging by the shoulders. Hang trousers by the waistband or dry them flat; hanging them by the hem puts all the weight into the waistband and the crotch. Use low heat if you must tumble, and take anything with elastane out while it is still slightly damp. High heat is what makes a waistband go slack and a knit lose its snap. Tumble only what is designed for it. Heavy cotton and towels survive it; almost nothing else improves.If a garment does shrink, check the length before deciding it is ruined. A hem can be let down, and a slightly shorter dress is often still wearable — but a shrunken knit that has lost its recovery is done. Storing so that fit survives Storage damage is slow and easy to avoid.Fold knits, never hang them. A knit on a hanger stretches at the shoulder within weeks, and that stretch does not come back. Hang wovens and tailoring on wide, shaped hangers that support the shoulder line. Thin wire hangers concentrate the weight on one point of a shoulder seam. Store only clean clothes. Small amounts of body oil and deodorant become stains over months, and food or sweat attracts moths. Wool, in particular, should never go away dirty. Give garments room. Compressing clothes in an overstuffed drawer creases interfaced and coated fabrics permanently, and it crushes the loft out of a knit. Keep light off stored clothes, especially dark colours, and keep the space dry. Damp encourages mildew in natural fibres, which is very hard to remove.Between washes and repairs You do not need to wash as often as you do. Air a garment overnight, brush wool with a soft brush to lift the nap, and steam it rather than pressing it: steam relaxes wrinkles and helps a knit return to shape without flattening the surface. Learn to spot the three repairs that keep garments wearable:A popped seam at a strain point. Usually the seat, the underarm or the crotch. Stitch it with a slight zigzag rather than a straight line, so the repair can move with the fabric. Do it early, before the fabric around the seam thins. Pilling. A fabric shaver removes the pills, but the pilling tells you something: the fibre is abrading where it rubs, usually under the arms or between the thighs. Keep it shaved so the surface does not catch on itself further. A dropped hem. On a heavier garment, a hem comes down at the back or the side because of the body underneath it. A tailor can rehang it, and it is a cheap fix compared with replacing the garment.Care is a fit issue The reason to bother is not thrift for its own sake. A garment whose fabric has lost its recovery no longer fits: it hangs at the seat, gaps at the elbow and rides up at the hem. Looking after the fabric is how you keep the fit you paid for, and it is the only part of the fit that you control after the tags come off.
- Curve File Editorial Team
- 06 Apr, 2026
Fit Checks to Do Before You Remove the Tags
Trying a garment on and looking in a mirror answers the easiest question: does this look right standing still, in this light, from this angle. It does not answer whether the garment was graded for a body that moves, sits down and raises its arms. That takes deliberate movement, and the five minutes are worth it because the tags come off once. Do it at the end of the day Body size changes through the day with heat, food and standing. A garment tried on first thing in the morning can be a size too optimistic by the evening, when most of the wearing happens. If you can, do your fit checks late rather than early. Try the garment over the underwear and base layers you would actually wear with it, and put the shoes on for anything with a hem. The movement checks Work through these in order. Each one isolates something a tailor can or cannot fix, which is what makes the result useful. 1. Raise both arms overhead. Note where the fabric pulls. Tension at the front of the armhole or across the upper back means the armhole and sleeve head are too tight for your shoulder, which is the hardest problem on this list to fix. 2. Reach forward, as if for a door handle. A garment that restricts this is too tight across the back. It will feel worse after a day of wearing it. 3. Sit down, then cross your legs. For trousers, this is the real test: a rise that is too short pulls at the waistband, and one that is too long bunches at the crotch. For dresses, sitting shows whether the waist seam stays where it should. 4. Step up onto a step or a low stool. This is the quickest way to find whether a trouser or skirt binds across the thigh and whether the crotch hangs correctly. 5. Look for pull lines in the mirror. An X of wrinkles radiating from a strain point means the garment is too tight there. Straight vertical folds hanging from the bust mean the garment has too much room, or that the bust point sits above where your body is and the fabric is not being carried by anything. 6. Check the shoulder seam. It should land on, or just past, the bony point of your shoulder. A seam that has slid down the arm means the shoulder was graded too wide; a seam that sits inside the point means it was graded too narrow and the sleeve will pull. 7. Check the bust position. On a garment with a defined bust seam, dart or princess line, the shape should sit at the fullest part of your bust. If the seam sits above it, the waist will ride up and the front hem will lift when you move. 8. Check the neckline. Bend forward. A neckline that gapes open is a shoulder and bust-position problem rather than a bust-size problem, and it usually cannot be fixed without re-cutting the front. 9. Check the armholes for chafing. Raise an arm and feel under it. A low armhole that rubs is not something you will get used to. 10. Hold it to the light. Take a pale or thin garment to a window. If you can see the outline of your hand clearly through it, plan for a second layer, or expect to wear it only in specific circumstances. 11. Test the waistband under tension. Sit and bend forward for a trouser. If the waistband rolls, gaps at the back, or digs in, it can usually be altered — but do check, because a deep, interfaced band behaves differently from a narrow elastic one, which tends to roll under any load. 12. Put your phone and keys in the pockets. Shallow pockets that spill their contents are a common shortcut on plus-size patterns, and they cannot be deepened cheaply once the garment is finished. The relaxation question A knit will relax with wear. That cuts both ways. If a knit feels slightly firm across the bust, that is usually the right size: it will settle to your shape over an hour or two. If it already feels loose, it will sag at the elbows, the knees and the seat, and no amount of careful washing will bring it back. A woven with no stretch does the opposite: it will not adapt at all, so if it pulls now it will pull later. Buy the larger size and alter the waist. As a rule, choose the size that fits the stable parts of the garment — the shoulder, the bust point, the seat — and let the flexible parts be altered. What is worth returning Some issues are routine alterations, and some mean the garment was never going to fit. Worth altering: a hem that is too long, a waist that gapes, straps that are too long, a sleeve that is slightly wide along its length, or a trouser that needs the leg tapered. Worth returning: a shoulder seam that sits off the shoulder, an armhole that binds when you raise your arms, a neckline that gapes when you bend, a crotch that hangs low on a rise you cannot adjust, or a bust seam that sits well above your bust line. Once you have decided, act inside the returns window, keep the tags attached until you are sure, and do not wash the garment while you are still deciding — washing removes the option. Keep the result Write down the brand, the style, the size you kept and the single most useful observation: the shoulder is generous, the rise is short, the waist runs wide. Three notes in a row and you can shop that brand without doing any of these checks again. Doing this consistently is not fussiness. It is the difference between a wardrobe of garments that fit and a drawer of nearly-right ones that each cost a return postage fee.
- Curve File Editorial Team
- 23 Mar, 2026
What a Tailor Can and Cannot Change in a Plus-Size Garment
Once you have accepted that ready-to-wear patterns are drafted for a body that is not necessarily yours, alterations stop looking like defeat and start looking like the final step of a purchase. The important thing is knowing which changes are routine and which are a rebuild, because the difference decides whether a garment is worth buying in the first place. The rule behind everything An alteration moves a seam or a fold. It does not add fabric where there is none, and it cannot change the shape the pattern was graded for. Two consequences follow. First, taking in is easy and letting out is often impossible: ready-to-wear seams usually have very little allowance, so a garment that is too small is finished. Second, anything involving the balance of a garment — the shoulder, the armscye, the bust point, the crotch curve — is not a simple adjustment, because moving it means re-cutting the parts around it. Easy, routine alterations These are the ones worth planning for when you buy.Hems. Trousers, skirts, sleeves and dresses can all be shortened. On a hem, a tailor can also rehang a garment that sits unevenly because of the body underneath it, which is a common issue on a curved figure and a real improvement in how the garment looks. Waistbands. Taking in the waist on a dress or a skirt, or adding a dart at the back waistband of a trouser, is routine. A waistband that gaps at the back while the hip fits is a classic sign of a grading mismatch, and this is the cheapest fix in the list. Straps and shoulder seams on a dress. Shortening a strap or lifting a shoulder seam slightly tends to fix necklines that sit too low, and it is straightforward when the garment is unlined. Buttons and closures. Moving a button, adding a hidden hook, or replacing a zip with a longer one to gain a little room is quick. Tapering and lengthening. Narrowing a wide trouser leg or taking in a sleeve that is too loose along its length is a matter of reshaping one seam. Shortening sleeves. Usually simple, but check the cuff: on a garment with a deep cuff or a placket, there may be no way to shorten it without losing the detail. Adding a lining or a facing. Where a fabric is thin, a tailor can sometimes add a half-slip of lining, which changes how the garment reads without altering the fit.Possible, but plan for it These take more work and are worth doing on a garment that is otherwise good.Moving a bust dart. Position can be adjusted within limits. Adding a dart where the pattern has none usually means a visible reconstruction, and it is not the right choice for a thin fabric. Taking in a dress through the side seams. Effective for a garment that fits at the bust and the hip but floats at the waist, but check first that the armhole is not affected; taking in a side seam high enough can tighten or distort the armhole. Adjusting a rise. A trouser rise can be lowered a little by taking in the waistband and reshaping the front, but it cannot be raised meaningfully. Raising a rise means adding fabric and moving the crotch curve. Tapering a crotch curve or adjusting the seat. Possible on a simple woven trouser with a generous seam allowance, but it is a fitter's job rather than a hemmer's, and it needs to be fitted on you. Taking in the back of a lined jacket. Best left to a tailor who works with tailoring, because the lining has to be re-hung afterwards.Genuinely difficult, or not worth itNarrowing or widening the shoulders. Changing shoulder width means re-cutting the sleeve head, and the sleeve will usually not fit the new armhole without being remade. This is the alteration most likely to look wrong afterwards. Raising an armhole. Too low an armscye is one of the most common grading problems in plus-size garments, and fixing it means rebuilding the bodice. Letting a garment out. Check the seam allowances before you hope for this. In most ready-to-wear there is barely a centimetre, and on a knit there may be none. Making a garment substantially larger. A tailor can add a panel or a gusset, but the result reads as a repair rather than a garment. Changing the bust point on a structured or lined garment. Possible in principle, expensive in practice. Bias-cut anything. Bias panels must be allowed to hang before the hem is finished, and the fabric moves when you work it. Expect to pay for patience.How to work with a tailor A few habits make the difference between an alteration that works and one you have to redo. Wear the garment first, with the shoes. Mark the length in the shoes you intend to wear, and mark sleeves with your arms in a natural position rather than held out. Bring your measurements, and a garment that fits you well. Comparing the two is the fastest way for a tailor to see where the problem is. Say what you want to be able to do. Raising your arms, sitting comfortably, or carrying a bag on one shoulder all change what a good fit means. A tailor cannot see your daily life. Ask what they would do, and what they would not. A good tailor will tell you when an alteration is not worth the money, and that answer is worth more than a cheap quote. Judging the cost An alteration is worth it when it is a small proportion of what the garment cost, and when the garment is otherwise well made — a decent fabric, seams that can be moved, and a colour you will keep wearing. It is not worth it when the garment is a thin knit that will not hold a new seam, or when the change is so structural that the alteration costs more than a replacement. The practical corollary: buy for the hip or the bust, keep the receipt data, and budget for the waist. Trousers that fit your seat and need a waistband taken in are a much better purchase than trousers that fit your waist and strain across the seat.
- Curve File Editorial Team
- 09 Mar, 2026
Fabric and Structure: What Holds a Shape and What Collapses
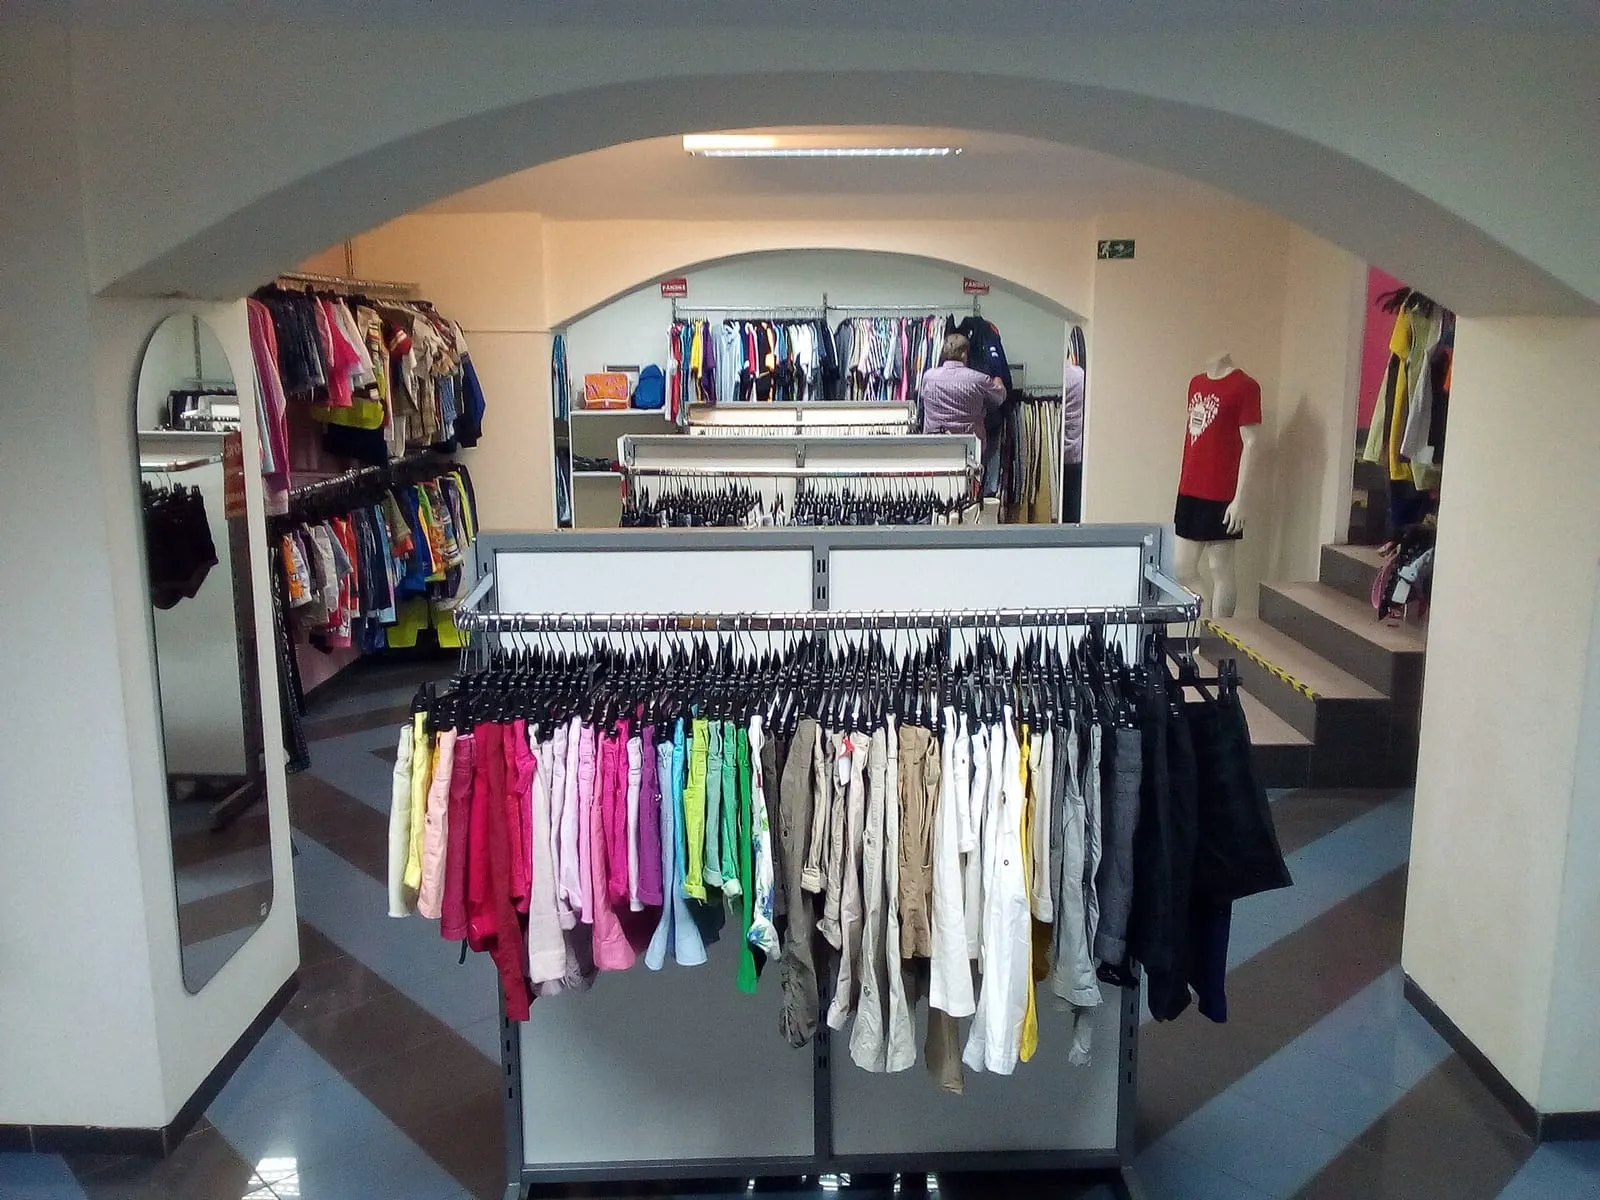
Two garments can have the same shape on the hanger and behave completely differently on a body, because fabric is not a neutral surface. It has weight, memory and direction. Above a certain size, those properties matter as much as the pattern, and unlike the pattern they are something you can assess in a minute. The three things fabric does It hangs. Every fabric falls under its own weight. A light knit follows the body and shows every line underneath it; a heavier knit or a woven falls in straighter folds and skims. This is the single biggest difference between a cheap-looking knit dress and an expensive-looking one, and it has nothing to do with the price on the tag. It stretches, and then it recovers — or it does not. A knit with good recovery returns to shape after being pulled, which is why it can fit closely without constricting. A knit with poor recovery hangs looser by the end of the day, bagging at the elbow, the knee and the seat. Elastane is what usually provides recovery; the higher the percentage, the more the garment depends on it. It holds a structure — or the structure is built in elsewhere. A woven garment with no stretch cannot adapt to you, so its shape has to come from the pattern, the seams and, in tailored clothing, from interfacing and canvas inside the layers. Weight is the number to look for Where a brand publishes fabric weight in grams per square metre, use it. Weight is the clearest predictor of how a knit will behave.Very light knits cling, show underwear lines and outline the shape of the body underneath. In pale colours they are close to transparent, and no amount of styling fixes that. Mid-weight knits are the workhorse: enough body to skim rather than cling, enough stretch to fit closely without straining. Heavy knits and structured wovens hold their own shape and can carry design details — a defined shoulder, a wide waistband, a deep pleat — without collapsing.Where weight is not published, judge it by feel in a shop or by the description of what the fabric is used for. Ponte, heavy jersey, scuba and double-knit fabrics exist precisely because a single layer of jersey is not enough for a garment with structure. Read the fibre, then read between the lines Fibre content is published more often than weight, and it is a decent proxy. Cotton is breathable, holds a crease, and can be pressed — useful if you want a sharp line. It has no natural stretch, so a cotton garment with no elastane must fit you properly rather than adapt. Linen and viscose drape well and crease easily. Viscose in particular can shrink or distort if washed carelessly, and it often looks expensive in a shop and tired after three washes. Wool holds shape, resists creasing and can be steamed back into line, which is why tailoring depends on it. Polyester blends are not automatically bad. A tight polyester weave can be durable and hold colour; a loose shiny one will pill, cling and hold odour. Elastane above all is the one to notice. A garment with a high proportion is relying on the stretch instead of on fit, and it will relax as the day goes on. Where structure actually lives Structure is not the same as stiffness. It is the collection of decisions that make a garment hold a shape:Seams that follow the body. Princess seams, waist seams and darts give a garment a place to fit around rather than a single circumference to stretch across. A flat-fronted garment with no seams has to work by stretch alone. Facings, interfacing and lining. A jacket that holds its shoulder has something inside it doing that work. An unlined jacket in a thin fabric will not. A waistband with depth. A wide, interfaced band supports a trouser waist instead of rolling and digging. A hem with weight. Light, narrow hems ride up. Deeper hems fall better and can be let down later. Grain and cut. A bias-cut panel drapes; a straight-cut one hangs. Where a pattern uses bias, it is usually to let the fabric move around a curve rather than fight it.What "flattering" means in practice The word is overused, and it usually implies a body that needs disguising. Put in construction terms, it means something narrower and more useful: the fabric does not catch on the body, the seams land where they were drafted to land, and the garment keeps its shape for a whole day. That gives you three practical tests, all of which you can do before owning the garment:The light test. Hold the fabric up to a window or a phone torch. If you can see your hand clearly through one layer, plan for a second layer or a darker colour. The fist test. Crush a handful of the fabric, hold it for a few seconds, then release. Does it spring back, or does it stay crumpled? Fabrics that stay crumpled will crease at every seat and elbow. The drape test. Hold the fabric up by one corner and watch it fall. If it falls in tight folds that follow your hand, it will follow your body the same way. If it falls in broad, straight lines, it will skim.A note on care, because it changes fit Fabric behaviour does not end at the checkout. A knit washed hot and dried in a machine loses recovery and grows; a wool jacket washed at home loses its shape and its shoulder. Anything that fits well enough to be worth keeping deserves a care check before its first wash, and a knit that is stored on a hanger rather than folded will stretch at the shoulder within a season. Judging fabric well will not make an ill-graded garment fit. It will stop you buying the ones that were never going to hold up, and it will help you spot the ones that will still look like clothes in two years.
- Curve File Editorial Team
- 23 Feb, 2026
An Online Shopping Checklist for Plus-Size Clothing
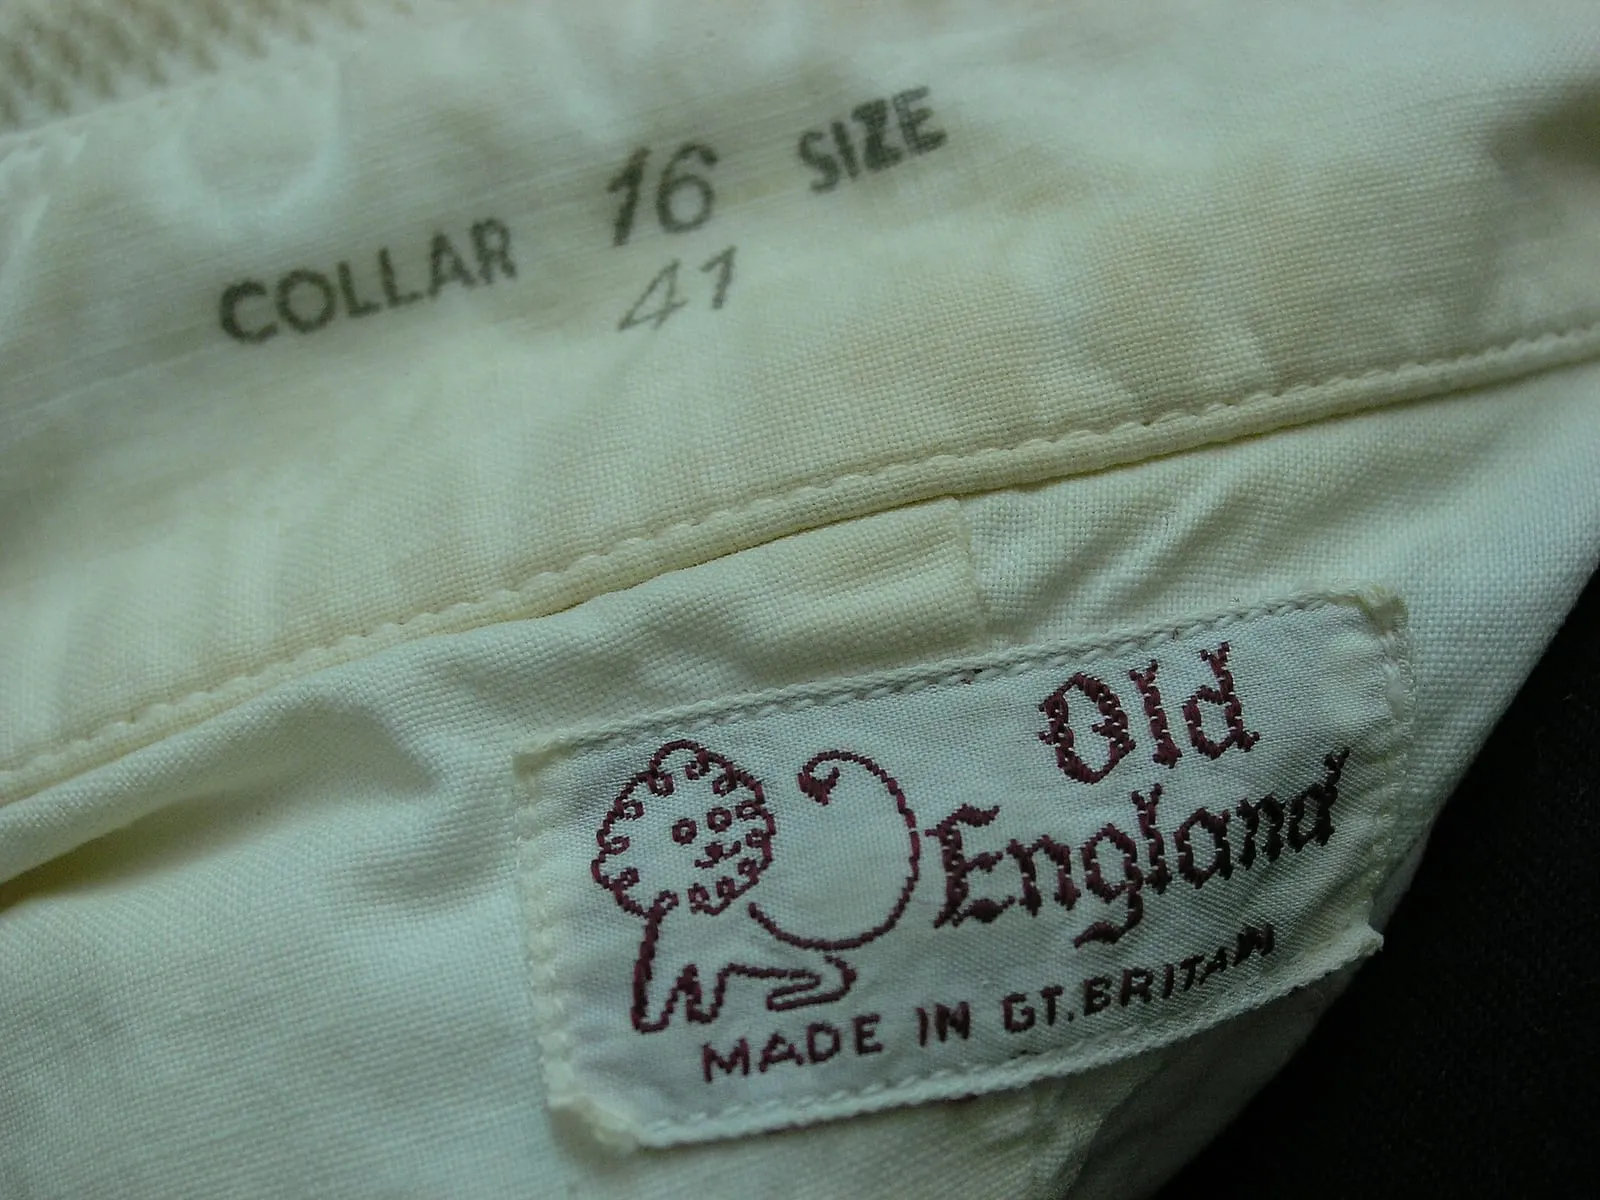
Buying clothes online is a trade: convenience and range in exchange for not being able to try anything on. The trade works out far more often when the checking happens in a fixed order, before you become attached to a garment. Work down this list and stop at the first item that fails outright, rather than arguing with it after the parcel arrives. 1. Find the size chart, and check what it measures If there is no chart at all, the listing is asking you to guess with your money. If there is a chart with a single measurement, treat it as a starting point rather than an answer. You are looking for garment measurements — the finished item measured flat — and for enough sizes listed that the increments are visible. A chart that continues smoothly above the straight-size range suggests the brand has thought about grading. One that stops at a mid-range size while the listing still offers larger ones is a sign the chart was written for something else and never updated. If you are between sizes, the increments tell you which way to go. Subtracting one size from the next is a five-second job that often decides the order. 2. Look at the photographs, and at what is missing Ask yourself whether the garment is shown on a body like yours. Photographs of a size 8 model in a garment that comes in a size 28 tell you about the fabric and the colour, not the fit: the armscye, the bust point and the rise will all sit differently on a larger body. Then look for what is not there. A back view, a side view, a close-up of a seam or a waistband, and a fabric swatch all suggest the item has been photographed properly. A single front image on a white background, heavily styled or shot from an angle that hides the hip and the arm, is worth less than it looks. Some brands publish the model's height and the size worn. That single detail turns a photograph into information: you can compare their proportions with yours and judge how much the garment is stretching to fit them. 3. Read the fibre content, not the description "Soft, stretchy, flattering" tells you nothing. The composition does.Fibre content. A high proportion of natural fibre behaves differently from a synthetic knit: it moves, it can be pressed, and it can be altered more easily. Cheap synthetics can look fine and then pill, shine or hold odour. Weight. Where the brand publishes a fabric weight in grams per square metre, heavier generally means more structure and less show-through. A thin knit in a light colour will outline everything underneath it. Stretch and recovery. Note whether the fabric stretches along one direction or both, and whether the garment is described as having a percentage of elastane. Elastic in the fabric helps a garment fit; a high proportion of it means the garment will relax more over time. Lining and opacity. Anything unlined and pale needs a second layer, which changes the fit of the outfit you were planning. Interfacing and structure. Jackets and tailored trousers hold their shape because something inside them holds it. If a listing never mentions structure, assume there is none.4. Check the construction details the listing actually mentions Sellers list what they are proud of. A listing that mentions a deep elastic waistband, a back yoke, a vent, functional pockets or a fully finished seam is giving you useful facts. A listing that mentions none of these things is telling you that the description was written from a template. Pockets are a reasonable test of whether anyone looked at the garment before publishing it. Shallow patch pockets that gape, or pocket bags cut from the same thin fabric as the outer layer, are the kind of detail that a considered plus-size pattern would have addressed. 5. Read the returns terms before the reviews This is the step people skip, and it is the one that decides whether an uncertain purchase is a gamble or a free trial. Find out how long the window is, who pays return postage, whether exchanges are free, and whether the item is marked final sale. Where returns are easy, ordering two sizes is a legitimate strategy. Where they are not, order one size, accept that it is calibration, and write down what you learn. Note also whether the brand resells or reships for exchanges; a slow exchange process is often more annoying than a refund. 6. Read reviews that give measurements Reviews are most useful when the writer states their own size and measurements and what they kept. "Runs small, size up" without a number is close to useless, and it can be wrong for you if their body differs from yours where it matters. Look for a pattern across several reviews. Three reviewers saying the arms are tight is evidence; one reviewer saying the dress is shapeless is an opinion. 7. Ask the seller one question If the chart is thin, message the seller and ask for flat measurements: across the bust, across the waist, and the garment's length. The reply, or the absence of a reply, tells you as much as the measurements themselves. Red flags worth walking away fromA size chart that stops well below the sizes offered. No fibre composition at all. Photographs on one body type only, with no back view. "True to size" claims with no chart to check them against. Final sale on the larger sizes in a range, which excludes the people most likely to need a return. The garment is only offered in dark colours, which is often a workaround for fabric that is too thin to be made in anything else.The order that matters Fit first, because it cannot be fixed. Then fabric and care, because they decide how long the garment looks good. Then returns, because they decide your risk. Price last, and judged per wear rather than per tag: a garment that fits, washes well and survives two years is cheaper than a bargain that hangs in the wardrobe. None of this is about being cautious for its own sake. It is about spending the same money on the few garments you actually wear.
- Curve File Editorial Team
- 09 Feb, 2026
Reading a Size Chart When You Are Between Sizes
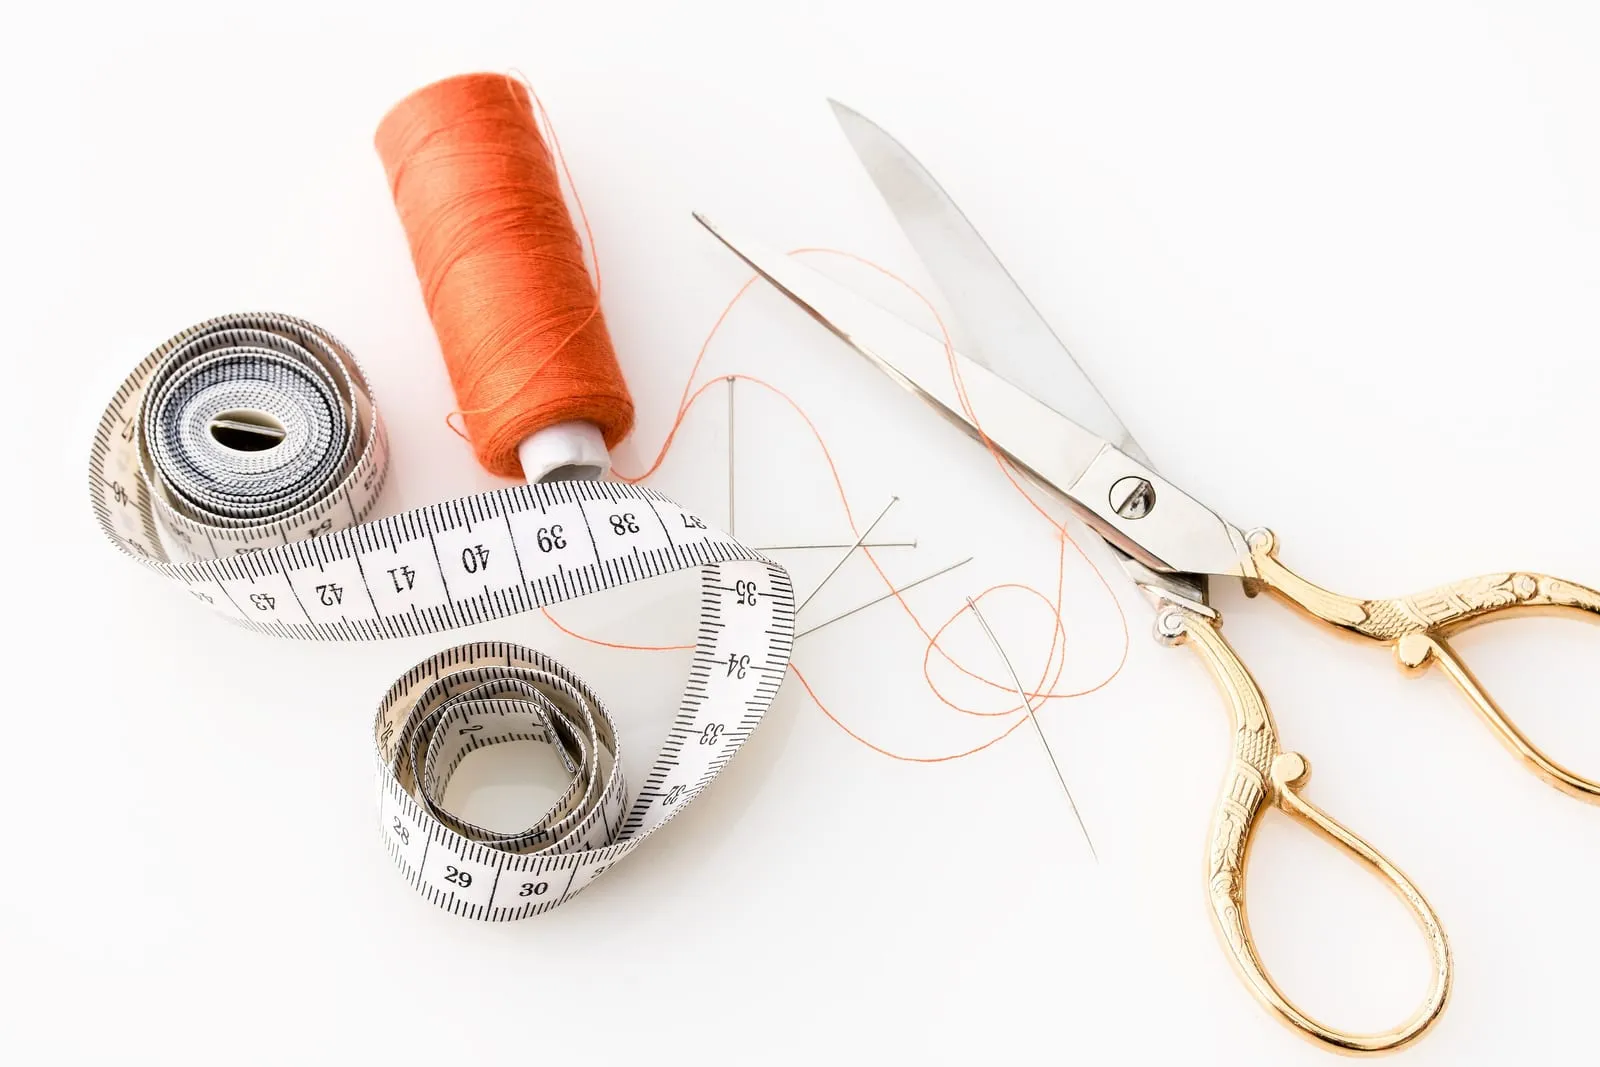
A size chart exists to answer one question, and most of them answer it ambiguously. Once you know what a chart is actually measuring, and how much room the garment is supposed to leave, the choice between two neighbouring sizes becomes a decision rather than a guess. First, work out what the chart is measuring There are two kinds of chart, and they are not interchangeable. Body measurements describe the person the size is intended for. These numbers are drawn from the brand's fit model and grading rules, and they include the room the designer expects to build in. A size chart saying a waist of a certain figure does not mean the garment's waist measures that. Garment measurements describe the finished item, laid flat. These are far more useful, and they are the ones to look for. If you find a chart with both, use the garment numbers. If a chart lists a single measurement — usually bust — it is not telling you how the garment was graded. Two brands can have identical bust charts and completely different hip and upper-arm measurements, which is where the fit difference will actually appear. Ease: the number nobody puts in the chart Ease is the difference between your body and the garment. Every wearable garment has some; how much depends on what it is and how it is supposed to look.A structured jacket or coat needs enough ease to close over clothing and allow movement — think in terms of several centimetres over the bust and across the back. A fitted woven dress or blouse needs enough to move in without straining, but not so much that it floats. A good knit can be worn with very little ease, or even a little less than your body measurement, because the fabric stretches to meet you.This is why the same bust measurement can produce a comfortable sweater and a dress that will not zip. When you are between sizes, ease decides it: for a structured garment with little stretch, take the larger size; for a knit with real recovery, the smaller size is usually right, because a knit that is too large tends to sag and lose its shape rather than adapt. Measure the stretch before you trust it "Stretch" on a product page can mean anything from a firm ponte to a light jersey that goes limp after a wash. You can measure it in a minute on something you already own, and the technique works the same way on a garment in a shop. Take the fabric between both hands, ten centimetres apart, and stretch it sideways as far as it will comfortably go without distorting the knit. Note the new distance. A fabric that reaches around twelve or thirteen centimetres has modest stretch. One that reaches fifteen or more is highly elastic. Then let go and check whether it returns: a knit that stays stretched has poor recovery, and it will bag out at the elbow, the knee and the seat. Apply the same test to the waistband of a pair of jeans or the cuff of a sleeve, and you will know quickly whether the garment will hold you or gradually give up. Read the increments, not just the numbers Subtract one size from the next in the chart. The pattern of jumps tells you what the brand assumed about the body it was building for. If the hip jumps by a noticeably larger amount between your size and the next one while the waist barely moves, the brand has graded for a particular waist-to-hip difference. If your own difference is bigger, you will need the larger size and an alteration at the waist. If it is smaller, the larger size will gape and the smaller size may pull across the seat. The same applies to the upper arm and sleeve. A chart that increases the bust generously while the sleeve head stays nearly the same is telling you that the arms will be tight before anything else is. Choosing between two sizes Work through these in order, and stop at the first one that decides it.Is there a shoulder or bust fit involved? Shoulders and armscyes are the most expensive things to alter, sometimes impossible without rebuilding the garment. Buy for the shoulder and the bust. Is the fabric woven with no stretch? Take the larger size, especially in anything fitted through the hip. Is the fabric a knit with good recovery? Take the size that matches your bust or hip measurement most closely, without adding room for comfort. Is it a structured garment meant to be worn over other clothes? Take the larger size and plan for the waist. Which of the two can you fix afterwards? Waists, hems and lengths are routine alterations. Shoulders, crotch depth and the position of a bust seam are not.One practical consequence: if the two sizes are on either side of a large jump in the chart — a common feature at the top of an extended size range — the smaller size may be genuinely too small rather than a tight fit. In that case, take the larger size and budget for a waist or a length alteration. Before you buy Ask the seller for flat measurements if the chart is thin: across the bust, across the waist, and the length of the garment. A shop that answers that question is usually a shop that will handle a return sensibly too. Check the returns window and who pays return postage before you decide which size to gamble on. Where returns are free, ordering both sizes and keeping one is a legitimate method — one that most plus-size shoppers end up using at least once per new brand. Where returns are expensive, order one, treat it as calibration, and write down what you learned. Finally, keep the chart. When an order arrives and fits, photograph the size chart and note the size you kept. Next season the same chart will be waiting, and you will be able to skip the whole process.
- Curve File Editorial Team
- 26 Jan, 2026
How to Measure Yourself at Home, in the Right Order
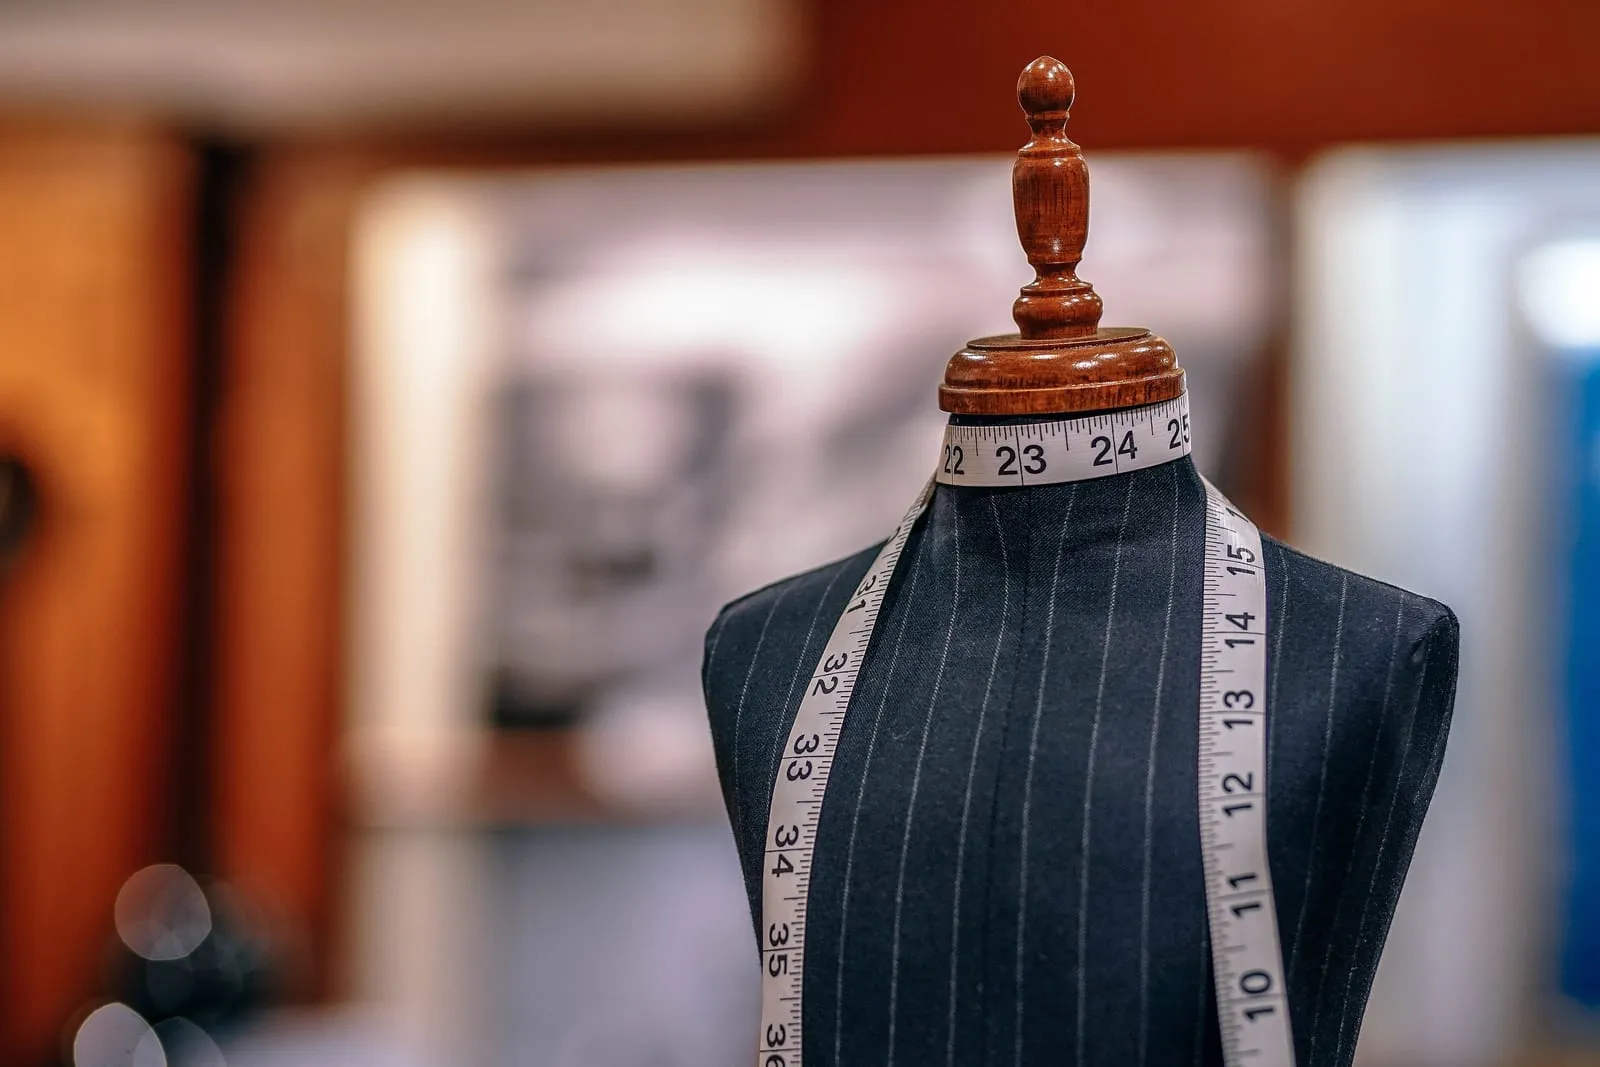
Most people have never measured themselves as an adult. They know the size they settled on years ago and have been absorbing the differences between brands as a personal problem ever since. Twenty minutes with a soft tape resolves more than any conversion chart, because the numbers are about you instead of an average. What you needA soft measuring tape, ideally one that does not stretch. If yours is old and fabric-backed, compare it against a rigid ruler first: a stretched tape quietly gives you a smaller body than you have. A mirror, or a second pair of hands. Someone else measuring the back and shoulder is more reliable than reaching around yourself. Light clothing, and the bra you actually wear. Underwear changes the bust and underbust numbers more than any other variable. A pen and a phone note. Measurements that are not written down are measurements you will take again next month.Take the tape seriously Two habits make the difference between numbers you can use and numbers that mislead. Keep the tape level. Front and back should sit at the same height on the body. For a hip measurement on a large body, a tape that slopes down at the back can read several centimetres wider than the body actually is. Walk your fingers around the tape to check it is parallel to the floor. Snug, not tight. The tape should touch the skin all the way round without compressing it. If measuring pulls in the soft tissue, you have measured a shape the garment will not meet. The opposite mistake — holding the tape away from the body — is common when self-measuring the bust, and it tends to overstate. Take each measurement twice and use the larger figure where they differ. Body shape changes over a day and with posture, so precision here is approximate by nature. The order to measure in Work from the top down, and recheck the waist from behind at the end. 1. Bust. Around the fullest part of the bust, tape level, arms down. This is the number most size charts are built on. 2. Underbust. Directly beneath the bust, tape firm against the ribcage. Useful for bra fit and for garments with a defined band or empire line. 3. Waist. Find your natural waist by bending sideways: the crease that forms is it. Measure there, at the narrowest point, not where a waistband usually sits on you. Note both if they differ — a low-slung waistband measurement is useful for trousers, but brands generally mean the natural waist. 4. High hip. Roughly a hand's width below the waist, over the top of the hip bone. This is the measurement that decides whether a fitted skirt or a high-waisted trouser will pull. 5. Hip. Around the fullest part of the hip and seat, feet together, tape level. On most bodies this is well below the waist, and it is often the largest circumference you will take. 6. Upper arm. Around the fullest part of the upper arm, arm relaxed at your side. This decides sleeve fit, and it is the measurement plus-size patterns most often get wrong. 7. Thigh. Around the fullest part of the thigh, standing with your weight even. Useful for trousers, and for anything cut close through the leg. 8. Rise. From your natural waist at the front, down through the crotch and up to the natural waist at the back. This is a loop, not a straight line, and it is much easier with help. It tells you whether a trouser rise will sit where you expect. 9. Inseam. From the crotch seam of a comfortable trouser to the hem, measured along the inside of the leg. Measuring a trouser you already own is more accurate than measuring your leg. 10. Shoulder. Across the back, from the bony point of one shoulder to the other. Take this one with help. Write all of it down with the date. Re-measure every six months or after any significant change in weight, and treat numbers older than a year as a rough guide. Which numbers actually decide the fit A size chart will ask for three; your notes have ten. The extra ones are the tiebreakers.The waist-to-hip difference decides whether a garment that fits one end of you will gape or pull at the other. If you are much wider at the hip than the chart assumes, buy for the hip and plan to have the waist taken in. The high hip decides whether fitted skirts sit flat or roll down. The upper arm decides whether a sleeve is wearable, and it is the one measurement a tailor cannot fix cheaply. The rise and the inseam together decide whether trousers sit at the height you want. Neither is a substitute for the other.If a chart gives you two plausible sizes and the garment has no stretch, buy for the largest relevant measurement and alter downward. Taking in is easier, cheaper and more reversible than letting out, which is often impossible because a seam allowance does not exist in ready-to-wear. Measuring a garment instead For buying online, a garment you already own beats your body measurements. Lay a favourite garment flat, smooth it, and measure across the bust, the waist and the hip from side seam to side seam. Double each number to get the circumference. Compare that with the chart's body measurement and you have the garment's ease — how much room it leaves. This is also how you learn to size yourself in a new brand without ordering twice. If the chart says a size 22 has a hip of a certain figure and your own best-fitting garment measures half that flat across, you know the numbers line up before you pay. None of these measurements judge anything. They exist so that you can compare a number you know is accurate with a chart that is usually a guess.
- Curve File Editorial Team
- 12 Jan, 2026
Why a Plus-Size Size Is Not Just a Bigger Straight Size
The most common assumption in plus-size shopping is that the numbers are a ladder: a size 24 is a size 14 with more of everything, so if a 14 fits you across the shoulders, a 24 will fit the same way. It rarely works out that way, and the reason is structural rather than personal. Grading is a set of rules, not a photocopier A commercial pattern is first drafted in one size, called the base size. Everything else in the range is made from that pattern by grading: applying a fixed set of increments to every point on every pattern piece, size by size. Those increments are chosen per measurement, not as a single scale factor. A grader might increase the bust by a certain amount per size, the waist by another amount, the hip by a third, and leave the shoulder width almost unchanged. The rules come from a combination of the brand's own fit data, national size standards, and what the factory has done for other clients. The moment the rules change from one measurement to another, a size is no longer a scaled photograph of the base size. It is a different shape that happens to be larger. Above a certain point in the range, many brands stop applying the same rules altogether and redraft the pattern from a different base, which is why the difference between two adjacent sizes is sometimes a jump rather than a step. Where the shape changes Grading increments are not proportional, so a few things happen as a size range extends upward. Shoulder and back width do not keep pace. The skeleton widens far more slowly than the bust or hip. When a brand grades the bodice up without giving the sleeves and armscye enough room, the result is the classic problem: a garment that fits across the front and cuts into the arm when you lift it, or pulls the whole bodice sideways when you reach forward. The bust point sits in the wrong place. Bust size is graded, but the position of the bust apex — the point the dart or seam is drafted around — is often graded by a much smaller amount, or not at all. A garment can be technically wide enough and still sit too high, so the waistline rides up and the front hem lifts. The waist-to-hip drop changes. Waist and hip do not grow at the same rate as each other across a real population. A grade built for a small drop produces a garment that gapes at the waist on someone with a larger one, and one built for a large drop pulls across the hip on someone with a smaller one. Trouser crotch depth and rise are guesses. Rise is one of the hardest measurements to grade correctly because it depends on the length of the torso as well as the shape of the hip and seat. Many plus-size trousers are drafted with a deeper rise to avoid pulling; on a shorter torso that produces a crotch that hangs low and drags. Why brands get this wrong Extending a size range properly is expensive. A technically correct extension means new base patterns, new blocks, and fitting on real bodies across the range — not one fit model with a size label. There are cheaper routes. A brand can grade an existing pattern further than it was designed to go, which stretches the rules until the shape distorts. It can take a block from a supplier that drafted it for a different market. Or it can grade accurately on paper and never check the result on a body, so a chart that looks coherent produces a garment that does not. None of this is visible on a product page. That is why the label alone is such a poor guide, and why two garments in the same size from the same brand can fit differently: they may be graded from different base patterns. What a grading problem looks like when you wear it Learning to recognise the symptoms saves a lot of returns.Pulling at the front of the armhole, or a tightness across the upper back when you reach forward. Usually an armscye and sleeve-cap problem, not a size-too-small problem. The waistline of a dress sitting high, with the fullest part of the bust below the intended seam. The bust apex was graded too little. Diagonal wrinkles running from the bust toward the waist. The garment is too tight in one direction and too loose in the other. A gaping neckline or shoulder seam sliding back off the shoulder. Shoulder width graded too wide relative to the rest. Seat seams that pull and a waistband that gapes at the same time. The waist-to-hip drop does not match the brand's grade.A tailor can fix the last two more easily than the middle ones. Anything that involves the shoulder, the armscye and the bust point means rebuilding the garment's balance, which is usually more than the garment is worth. What to do about it You cannot see a brand's grading rules, but you can see the evidence of them. Compare the increments in the size chart. Subtract one size from the next across the bust, waist and hip. If the chart only shows one measurement, it is not telling you how the garment was graded. If the hips jump between your size and the next one while the waist barely moves, the brand has assumed a drop that may not be yours. Ask for garment measurements. Flat measurements — the garment laid out and measured across, not the body it is meant for — tell you what you are buying. A chart with garment measurements is more useful than any size number, because you can hold a tape against a garment that already fits and compare. Read the returns policy before the size chart. If a brand grades unpredictably, cheap or free returns turn a gamble into a free fitting. Where returns are costly, buy one item first and treat it as calibration. Keep a note per brand. Within two or three purchases you will know whether a brand's grade runs wide in the shoulder, short in the rise, or tight in the armscye. That private table is worth more than any published conversion chart, because it is built from your own measurements rather than an average that describes nobody in particular. The goal is not to find a brand that fits every body. It is to stop treating a bad fit as a failure on your part, when what you are actually looking at is a pattern that was never drawn for someone shaped like you.