How to Measure Yourself at Home, in the Right Order
- Curve File Editorial Team
- 26 Jan, 2026
Most people have never measured themselves as an adult. They know the size they settled on years ago and have been absorbing the differences between brands as a personal problem ever since. Twenty minutes with a soft tape resolves more than any conversion chart, because the numbers are about you instead of an average.
What you need
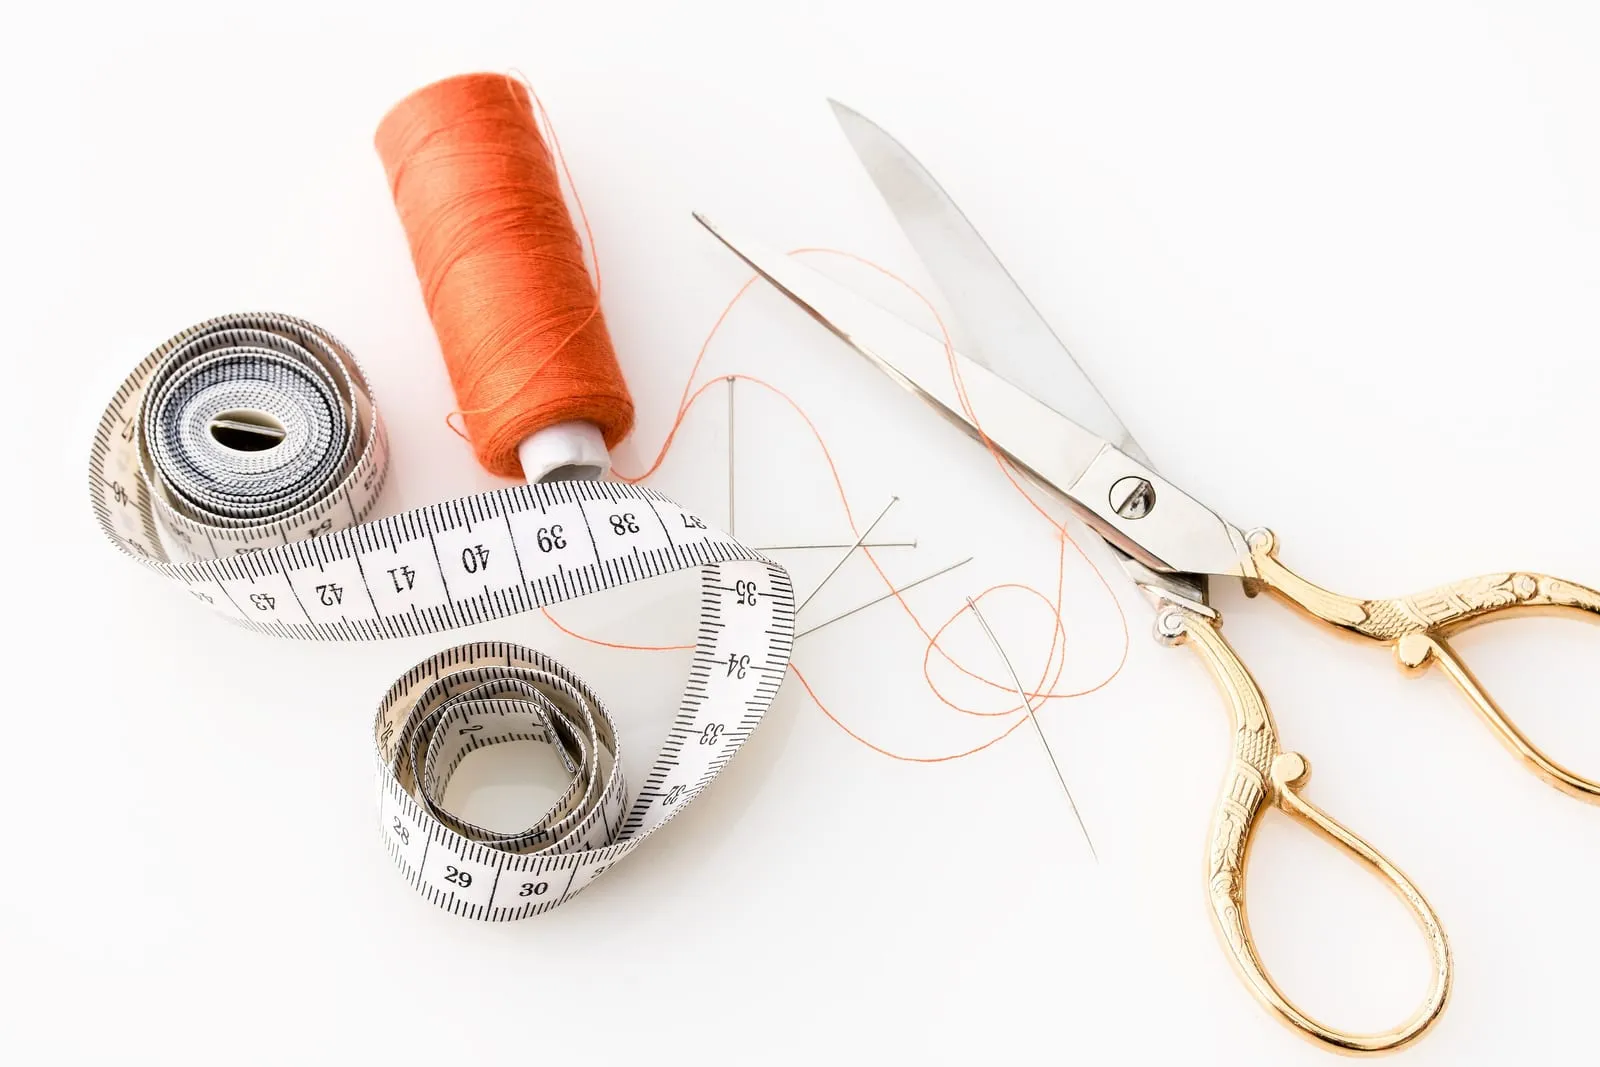
- A soft measuring tape, ideally one that does not stretch. If yours is old and fabric-backed, compare it against a rigid ruler first: a stretched tape quietly gives you a smaller body than you have.
- A mirror, or a second pair of hands. Someone else measuring the back and shoulder is more reliable than reaching around yourself.
- Light clothing, and the bra you actually wear. Underwear changes the bust and underbust numbers more than any other variable.
- A pen and a phone note. Measurements that are not written down are measurements you will take again next month.
Take the tape seriously
Two habits make the difference between numbers you can use and numbers that mislead.
Keep the tape level. Front and back should sit at the same height on the body. For a hip measurement on a large body, a tape that slopes down at the back can read several centimetres wider than the body actually is. Walk your fingers around the tape to check it is parallel to the floor.
Snug, not tight. The tape should touch the skin all the way round without compressing it. If measuring pulls in the soft tissue, you have measured a shape the garment will not meet. The opposite mistake — holding the tape away from the body — is common when self-measuring the bust, and it tends to overstate.
Take each measurement twice and use the larger figure where they differ. Body shape changes over a day and with posture, so precision here is approximate by nature.
The order to measure in
Work from the top down, and recheck the waist from behind at the end.
1. Bust. Around the fullest part of the bust, tape level, arms down. This is the number most size charts are built on.
2. Underbust. Directly beneath the bust, tape firm against the ribcage. Useful for bra fit and for garments with a defined band or empire line.
3. Waist. Find your natural waist by bending sideways: the crease that forms is it. Measure there, at the narrowest point, not where a waistband usually sits on you. Note both if they differ — a low-slung waistband measurement is useful for trousers, but brands generally mean the natural waist.
4. High hip. Roughly a hand’s width below the waist, over the top of the hip bone. This is the measurement that decides whether a fitted skirt or a high-waisted trouser will pull.
5. Hip. Around the fullest part of the hip and seat, feet together, tape level. On most bodies this is well below the waist, and it is often the largest circumference you will take.
6. Upper arm. Around the fullest part of the upper arm, arm relaxed at your side. This decides sleeve fit, and it is the measurement plus-size patterns most often get wrong.
7. Thigh. Around the fullest part of the thigh, standing with your weight even. Useful for trousers, and for anything cut close through the leg.
8. Rise. From your natural waist at the front, down through the crotch and up to the natural waist at the back. This is a loop, not a straight line, and it is much easier with help. It tells you whether a trouser rise will sit where you expect.
9. Inseam. From the crotch seam of a comfortable trouser to the hem, measured along the inside of the leg. Measuring a trouser you already own is more accurate than measuring your leg.
10. Shoulder. Across the back, from the bony point of one shoulder to the other. Take this one with help.
Write all of it down with the date. Re-measure every six months or after any significant change in weight, and treat numbers older than a year as a rough guide.
Which numbers actually decide the fit
A size chart will ask for three; your notes have ten. The extra ones are the tiebreakers.
- The waist-to-hip difference decides whether a garment that fits one end of you will gape or pull at the other. If you are much wider at the hip than the chart assumes, buy for the hip and plan to have the waist taken in.
- The high hip decides whether fitted skirts sit flat or roll down.
- The upper arm decides whether a sleeve is wearable, and it is the one measurement a tailor cannot fix cheaply.
- The rise and the inseam together decide whether trousers sit at the height you want. Neither is a substitute for the other.
If a chart gives you two plausible sizes and the garment has no stretch, buy for the largest relevant measurement and alter downward. Taking in is easier, cheaper and more reversible than letting out, which is often impossible because a seam allowance does not exist in ready-to-wear.
Measuring a garment instead
For buying online, a garment you already own beats your body measurements. Lay a favourite garment flat, smooth it, and measure across the bust, the waist and the hip from side seam to side seam. Double each number to get the circumference. Compare that with the chart’s body measurement and you have the garment’s ease — how much room it leaves.
This is also how you learn to size yourself in a new brand without ordering twice. If the chart says a size 22 has a hip of a certain figure and your own best-fitting garment measures half that flat across, you know the numbers line up before you pay.
None of these measurements judge anything. They exist so that you can compare a number you know is accurate with a chart that is usually a guess.