Base Layers and Bras Under Plus-Size Garments
- Curve File Editorial Team
- 22 May, 2026
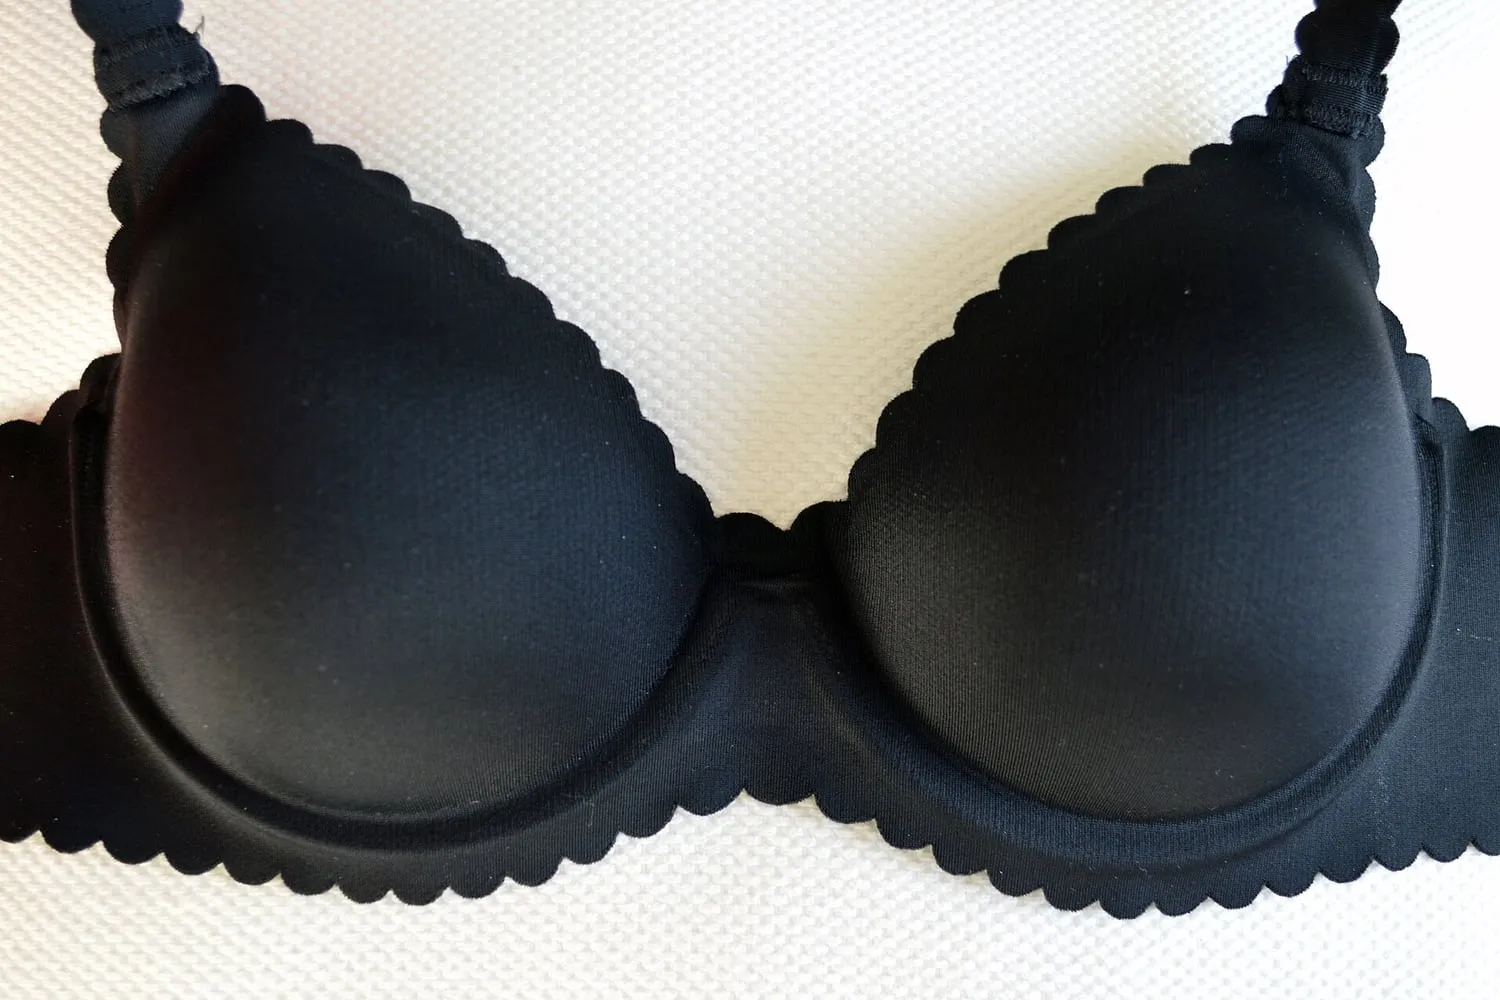
A garment is never measured on a bare body. It is measured on a body that is already wearing something, and the shape of that under layer decides where the outer garment pulls, where it lies flat and where it gapes. Change the bra and the same dress can fit differently in four places at once. That is why base layers belong in a conversation about fit and measurement, not in a separate one about styling.
The point matters most when buying online, where the garment is chosen from a chart rather than tried on a body. The chart was written to a set of body measurements, but the garment will meet the layer you own. Understanding how the two interact tells you whether a garment that looks slightly off will work anyway, and whether one that photographs badly might sit correctly over what you actually wear.
The under layer is a measuring instrument
Treat it as two things: a difference and an anchor. The difference is the bust measurement minus the measurement taken around the ribcage beneath the bust. That gap is what determines cup volume, and it is the most useful single number in the whole exercise, because a band that is comfortable but paired with the wrong cup will still move the bust out of position.
The anchor is the band. A band that rides up at the back no longer holds the front in place, so it changes the height of the bust. Because the bust point is what a dart, a princess seam or a panel seam is drafted around, moving the bust upward or downward moves every fitted seam with it. A garment can be the correct size and still sit wrong, simply because the layer beneath has shifted the landmark it was built on.
Side support plays a part too. A wider side panel or a higher edge under the arm holds tissue inward and forward. In a garment with a close armhole, that displaced volume has to go somewhere, and it usually shows as a fold or a pull.
Band, cup and the difference between them
When the bust of a dress or top feels wrong, check the under layer before blaming the garment.
- If the band rides up and the cups sit low, the band is loose. Tightening the straps will not help, because they will simply pull the back higher still.
- If the centre of the bra does not rest against the chest between the cups, the cup volume is usually too small rather than the band too large.
- If a wire sits on soft tissue at the side, the cup is too shallow for the shape, and it will read as a fold above the wire through a close-fitting top.
- If the band leaves deep marks when it comes off, the band is more likely too tight than too loose, and a larger band with a smaller cup can resolve it.
None of this is advice about the body underneath. It is a description of how the outer garment’s geometry is set before the outer garment is even fastened.
What the under layer does at edges
Base layers decide how a garment behaves at its borders. A smooth, well-fitted bra under a fine knit produces a clean line across the bust and lets a neckline sit where it was drafted to sit. A bra with a high centre or a decorative edge can push a neckline outward or upward, and the difference is visible.
At the waist, the top of the brief or the waistband of trousers becomes the partner of the garment’s own waistband. A high-waisted brief under a low-rise trouser changes how pressure is distributed: the trouser waist is no longer resting where it was drafted, so it may roll or dig. A brief with a soft, wide band can, in the other direction, allow a trouser waistband that slightly gapes to sit flat.
None of these effects is large in isolation. Together they decide whether a garment needs an alteration or does not.
Liners, slips and the layer in between
A liner, meaning a thin half-slip or a shaped underlayer, is often the cheapest fit adjustment available. It changes the friction between the body and the garment’s own lining, so a close skirt or dress slides back into place after you stand up instead of staying where the fabric gripped. It also changes opacity, which matters with pale or thin fabric.
The trade-off is thickness. A liner adds volume at the waist and hip, which is exactly where a tailored garment has the least ease. Test a lined skirt with the liner in place before you commit to it, particularly if the waistband is already close.
Where a garment is unlined and the fabric is thin, a liner is doing two jobs at once: it controls cling and it controls show-through. That combination is worth having even if the fit is slightly tighter with it.
Seams, hooks and edges
The construction of the under layer shows through anything close-fitting.
A bra that closes with several hooks gives you adjustment in small steps, which is useful because bands relax with wear and a two-hook back offers very little room between settings. A wide, flat hook panel sits more smoothly under a fine knit than a narrow one that concentrates pressure in a single line.
Side panels, usually called the wings, do two jobs: they hold the band against the ribs and they smooth the area under the arm. A tall wing supports more, and a shallow one folds more easily. Under a garment with a close armhole, that fold can telegraph through as a horizontal crease.
Edges matter as much as panels. A bonded or laser-cut edge, where there is no stitched seam at all, disappears under a thin fabric that would otherwise show every ridge. A stitched edge with lace or binding can be visible through a fine knit even when the bra fits well. This is the reason a plain, smoothly finished layer is worth keeping for thin garments specifically, quite apart from how it looks on its own.
Testing with the layer you will really wear
When you try a garment at home, keep the base layer constant across the whole parcel. If you own several bras of quite different shapes, test the garment with the one you would genuinely wear with it. A garment judged over the wrong layer is judged on the wrong body.
Take the photographs with that layer on, in the same light and from the same distance each time. The photographs exist to support a return decision, and the return decision should be made under the same conditions the garment will be worn in.
It also helps to note the layer down. “Tried with the balcony bra and the flat brief” is a line that makes a photograph readable a week later, when the details of the try-on have gone.
A short list to work through
- Find the fullest point of the bust and check which seam crosses it; that tells you the height the garment was drafted for.
- Choose the under layer before you test the armhole and the neckline, then keep it fixed.
- Match the depth of the garment’s waistband to the top of the brief, so that two waistbands are not fighting for the same place.
- Use a slip or liner to change friction and opacity rather than changing size.
- Remember the effect of the difference between bust and under-bust: it is what sets cup volume, and it is the number most often skipped.
- If the bust point is wrong by more than a small amount, treat it as a garment problem and take the refund. No bra can move a seam.
The layer beneath is not bolted on at the end. It is the first thing the garment meets, and it deserves the same attention as the garment itself.